Embeddable booking widgets
Add a Book now button to your own website so customers can book and pay without leaving your page — no code required.
What booking widgets are
A booking widget is a small Book now button you embed on your own website — WordPress, Squarespace, Wix, Webflow, or a hand-built HTML page. When a visitor clicks it, your live availability and checkout open in a modal on top of your page. The customer picks dates and pays without ever being redirected away, and the booking lands in Fjellride instantly.
Widgets are the no-code alternative to the Fjellride API. If you can paste a line of HTML, you can take bookings from any site.
How it works
- You create a widget in Settings → Widgets and choose what it should book.
- Fjellride generates a snippet — a
<div>plus a<script>tag. - You paste that snippet into your website wherever you want the button to appear.
- Visitors click the button, book, and pay in a modal. Payment runs through the same secure Stripe checkout as your storefront.
Creating a widget
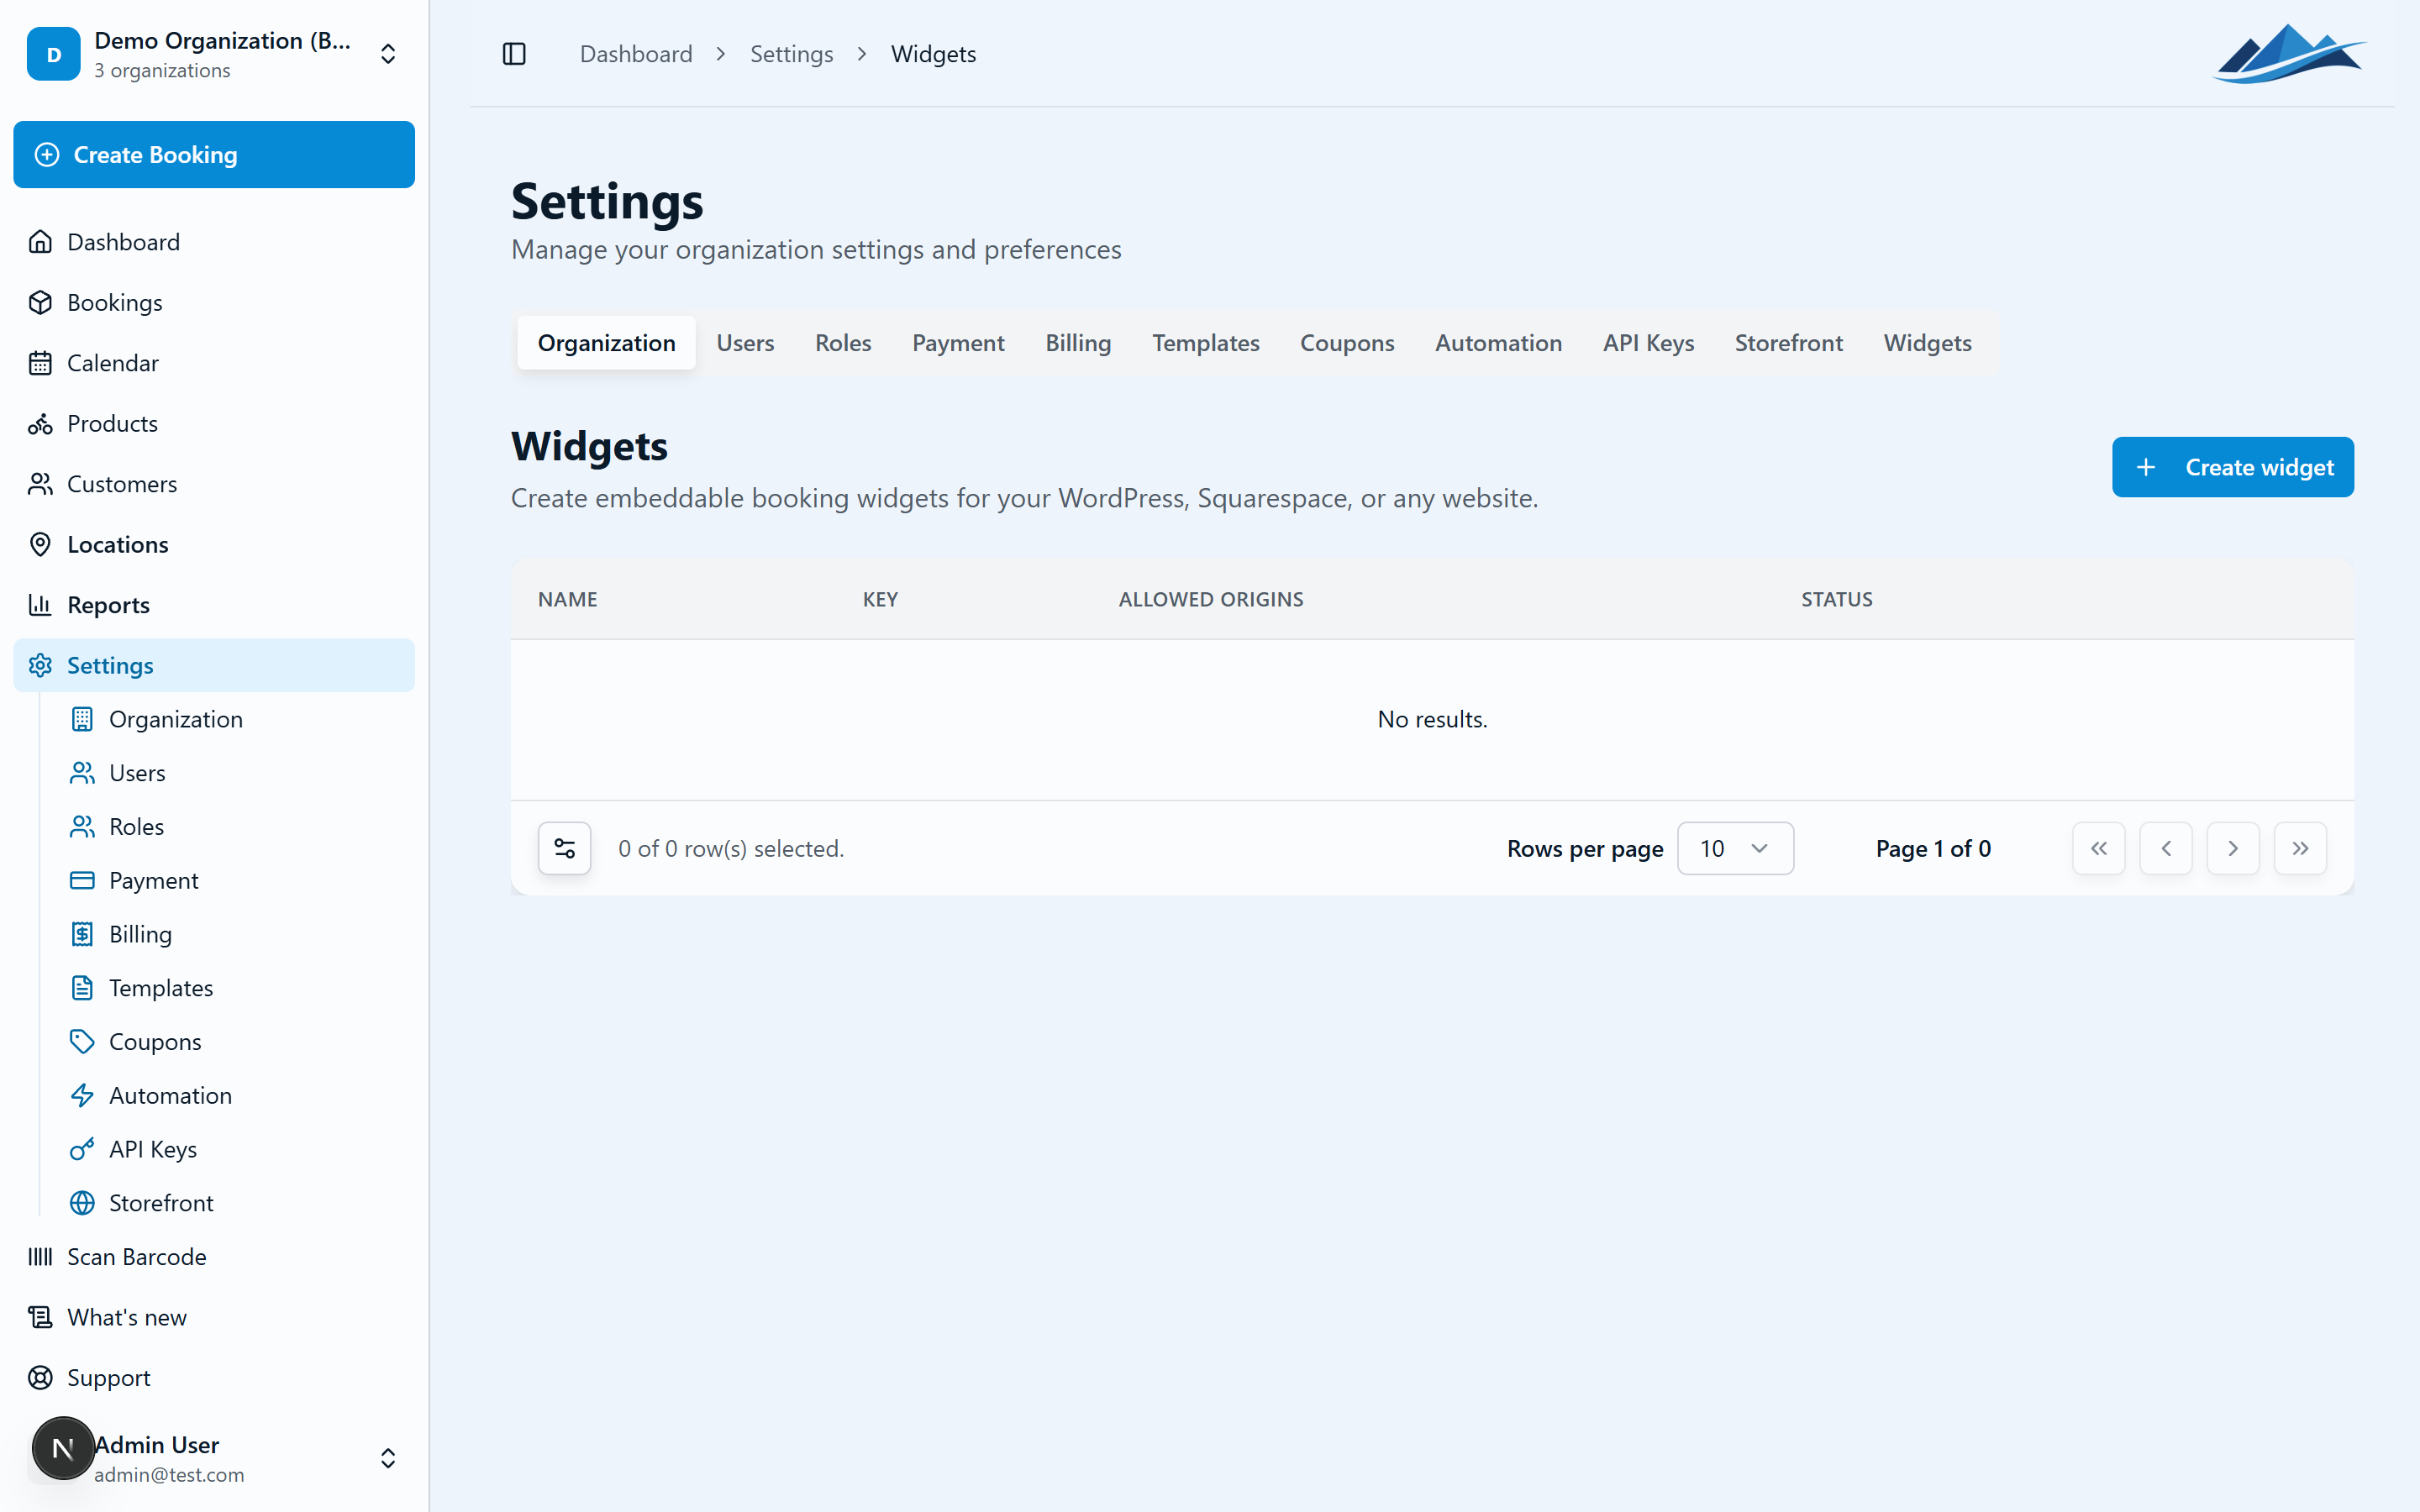
- Go to Settings → Widgets
- Click Create widget
- Under What to embed, configure the button:
- Type — choose Button. (Calendar and product-grid widgets are coming soon.)
- Product — pick a single product, or choose Entire catalogue so the customer browses everything you offer.
- Button label — the text shown on the button, e.g. "Book now" or "Rent a bike". A live preview updates as you type.
- Under Where it will be used, tell Fjellride about the site:
- Name — a label for your own reference, e.g. "Main website" or "Bike rental landing page".
- Website origins — the domain(s) where the widget is allowed to run, e.g.
https://www.yourshop.com. This is the widget's security boundary (see Security below).
- Click Create. Fjellride shows a success step with your embed snippet, ready to copy.

Adding the snippet to your site
Copy the generated snippet and paste it into your site's HTML where you want the button to show. It looks like this:
<div
  data-fjellride-widget="button"
  data-org="your-org"
  data-key="fjw_pk_live_xxxxxxxxxxxxxxxx"
  data-product-id="prod_xxxxxxxx"
  data-label="Book now"
></div>
<script async src="https://embed.fjellride.se/embed/v1/embed.js"></script>- The
<div>is the placeholder where the button is rendered. - The
<script>loads the Fjellride loader. You only need one script tag per page, even if you have several buttons. data-product-idis omitted when the widget books your entire catalogue.
Platform notes
- WordPress — add the snippet with a Custom HTML block (block editor) or inside a "Custom HTML" widget. Avoid the visual editor, which can strip
<script>tags. - Squarespace — use a Code block, or Settings → Advanced → Code Injection for site-wide placement.
- Wix — use the Embed HTML / Custom Element widget.
- Webflow — use an Embed element.
- Plain HTML — paste it anywhere in the page
<body>.
Booking your whole catalogue vs. a single product
- Choose a single product when the button should book one specific item (e.g. a "Book this e-bike" button on that product's page).
- Choose Entire catalogue when the button should let customers browse and pick from everything (e.g. a general "Book now" button in your site header).
You can create as many widgets as you like and place different buttons on different pages — they can all share the same widget key.
Re-opening the embed code
Need the snippet again, or want a button for a different product using the same key?
- Go to Settings → Widgets
- Open the ⋯ menu on the widget
- Choose Get embed code
From there you can copy the key or generate a fresh snippet — including pointing it at a different product — without creating a new widget.
Security: how widget keys stay safe
Widget keys start with fjw_pk_live_ (or fjw_pk_test_ for testing). The pk stands for publishable — like a Stripe publishable key, it is designed to be visible in your page's source code. That's normal and safe.
What keeps a widget key from being abused is the website origins allowlist you set when creating it. Fjellride only accepts widget requests that come from a domain you've listed. If someone copies your key onto another site, it won't work.
Payments
Widget bookings are paid through the same Stripe-powered checkout as your Fjellride storefront, so deposits, balances, refunds, and payouts all behave identically. You must have Stripe connected before customers can pay through a widget.
When the customer reaches payment, the secure Stripe page takes over the browser tab to complete the transaction, then returns them to the booking confirmation.
Troubleshooting
- The button doesn't appear. Confirm both the
<div>and the<script>tag were pasted, and that your site builder didn't strip the<script>. Use a raw HTML / code-embed block rather than the visual editor. - Clicking does nothing / a console error about origin. The page's domain isn't in the widget's website origins. Add it in Settings → Widgets.
- "Book now" opens but no products show. Check that the widget points at a published product, or switch it to Entire catalogue.
- Customers can't pay. Make sure Stripe is connected for your organization.