Connecting your Stripe account
Step-by-step guide to setting up Stripe Connect so you can accept payments through your storefront.
Why Stripe?
Fjellride uses Stripe to process all customer payments. Stripe handles credit cards, bank transfers, and local payment methods securely — you never need to store sensitive payment data yourself.
Through Stripe Connect, your Fjellride account connects directly to your own Stripe account. Payments flow from your customers, through Stripe, and into your bank account.
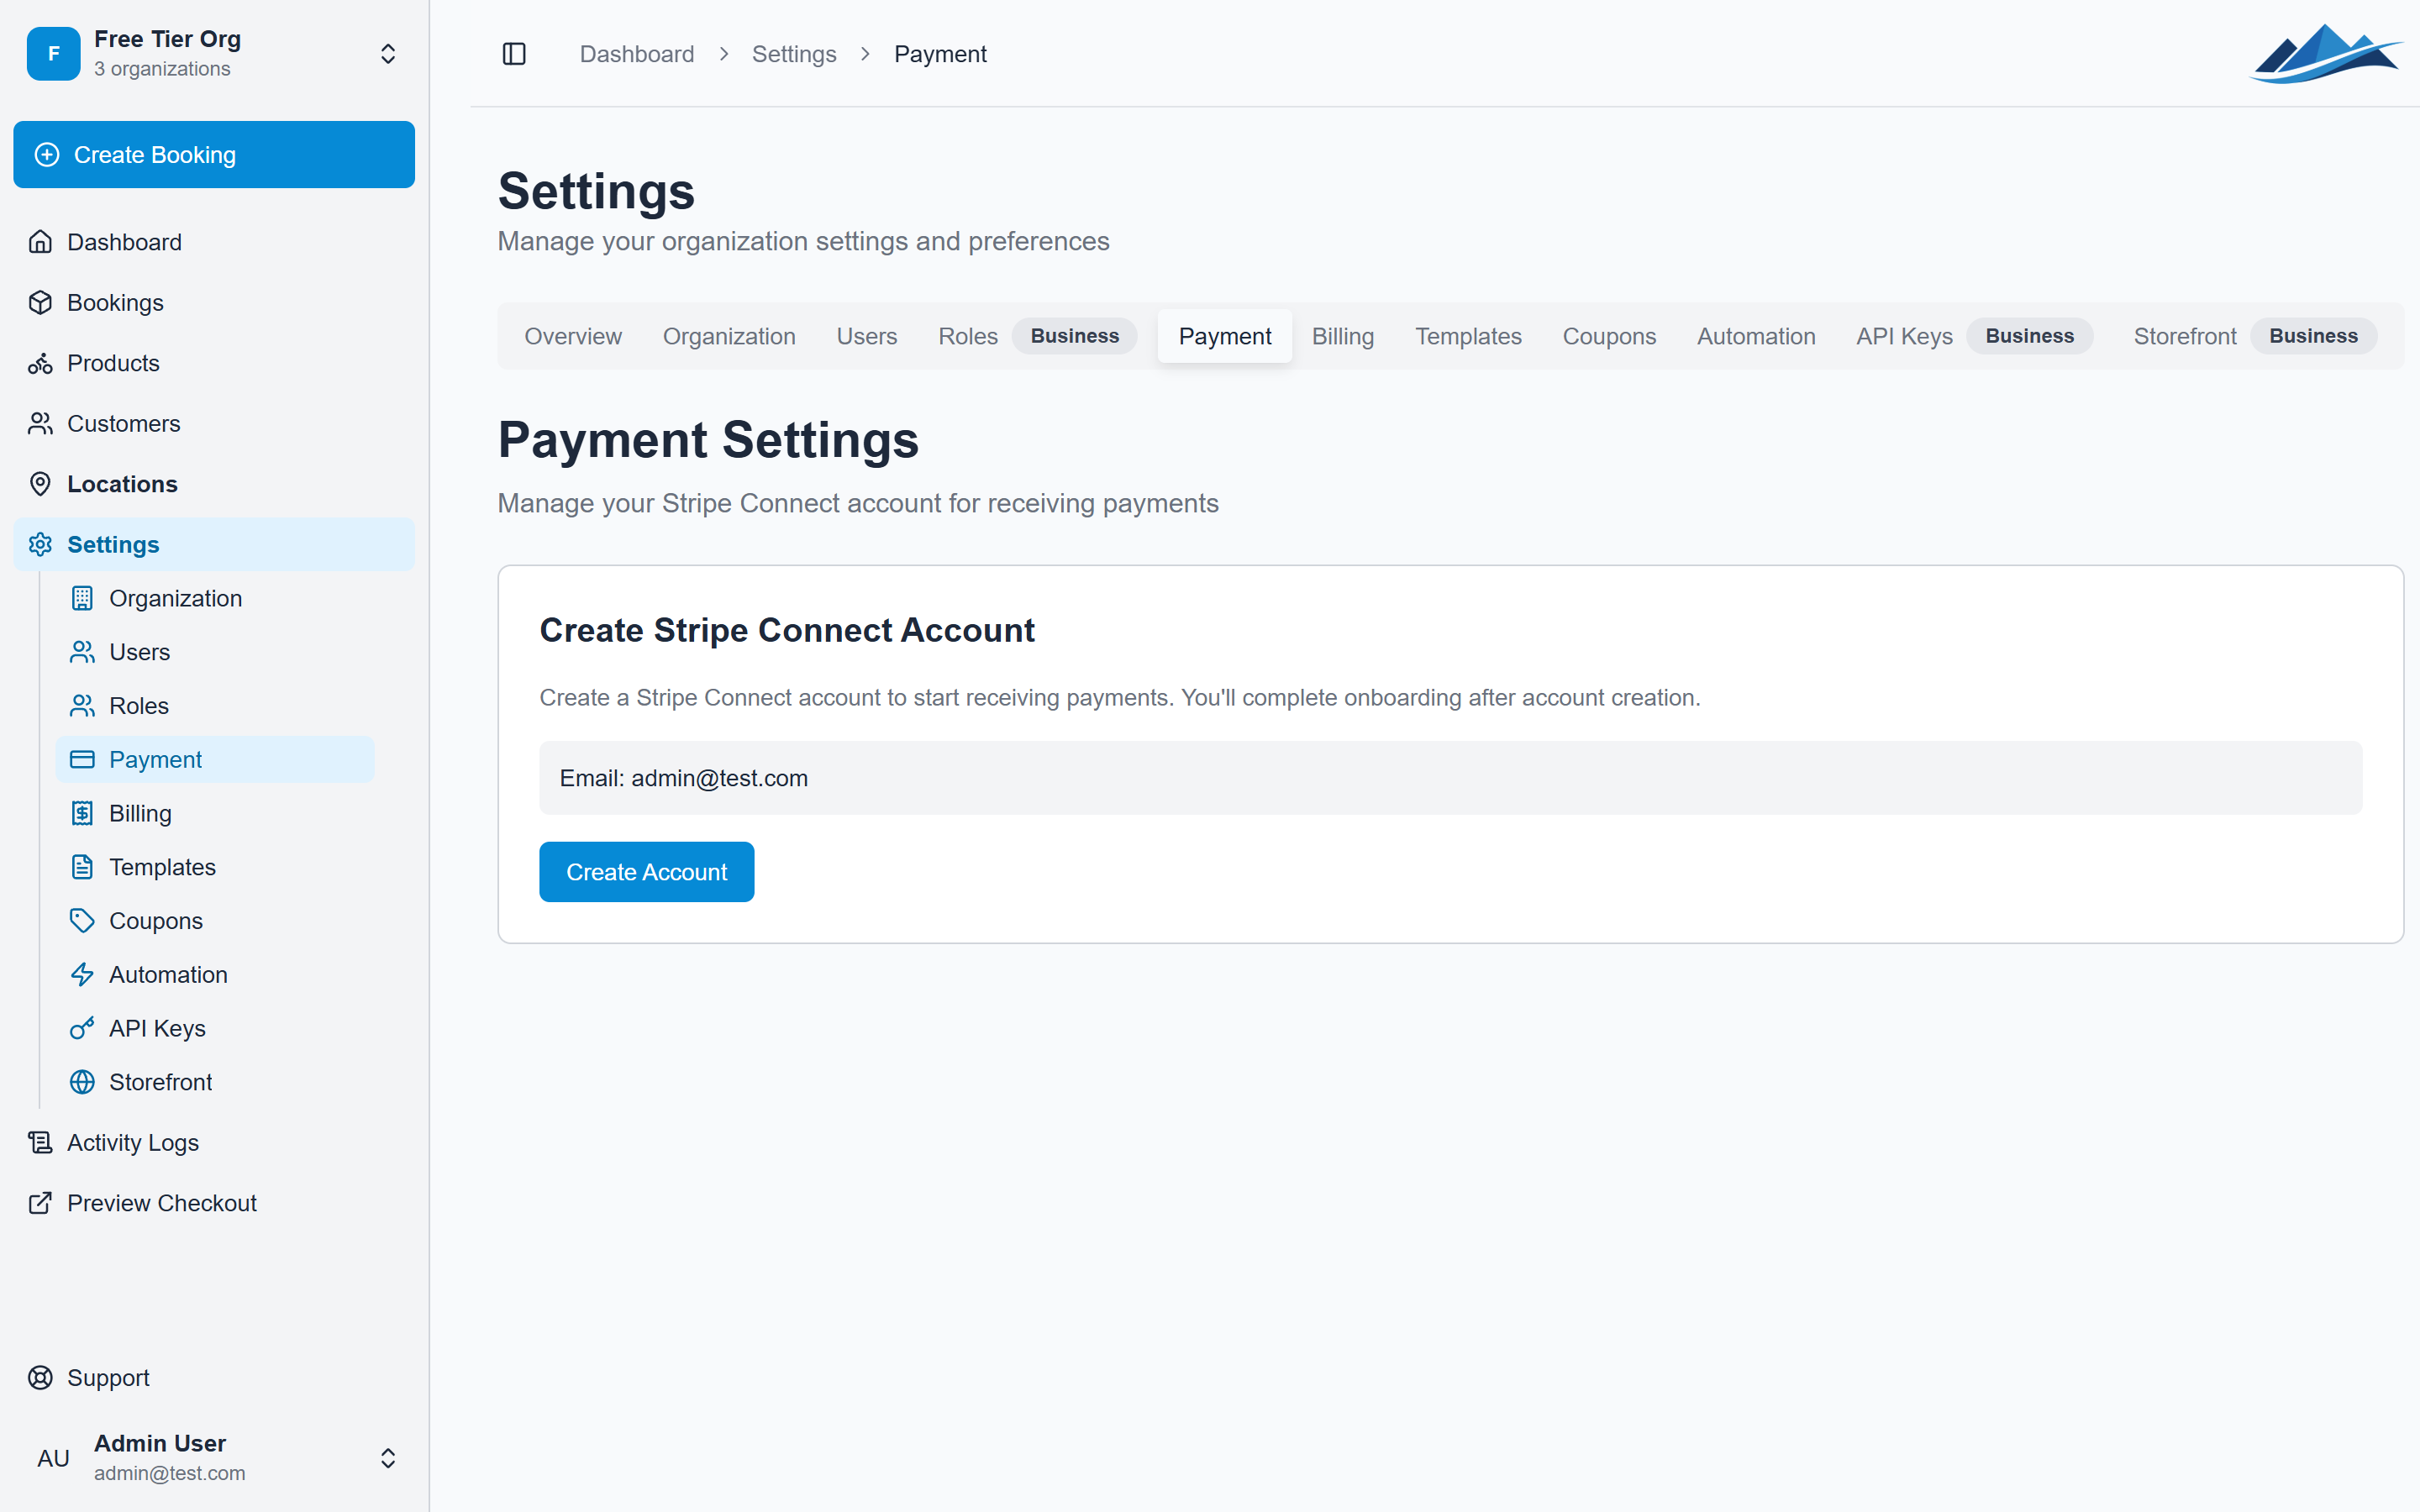
Setting up Stripe Connect
Step 1: Start the connection
- Go to Settings in the sidebar
- Navigate to the Payments section
- Click Connect with Stripe
You'll be redirected to Stripe's onboarding flow.
Step 2: Complete Stripe onboarding
Stripe will ask for:
- Business information — your company name, address, and type
- Personal details — identity verification for the account holder
- Bank account — where Stripe should send your payouts
If you already have a Stripe account, you can connect it directly. Otherwise, Stripe will create a new Standard account for you.
Step 3: Verify your account
Stripe may need a few minutes (or up to a day) to verify your information. You can check the status at any time:
- Go to Settings → Payments
- Look at the connection status
Once verified, you'll see:
- Charges enabled — you can accept payments
- Payouts enabled — Stripe can send money to your bank
Step 4: You're ready
Once both charges and payouts are enabled, your storefront can accept customer payments. Bookings paid online will automatically move from Concept to Reserved.
Accessing your Stripe Dashboard
After connecting, you can access your full Stripe Dashboard directly:
- Go to Settings → Payments
- Click Open Stripe Dashboard
From the Stripe Dashboard you can:
- View detailed transaction history
- Download financial reports
- Configure additional payment methods
- Manage disputes and chargebacks
- Set up your own Stripe automations
Payment methods
Stripe supports a wide range of payment methods. The methods available to your customers depend on your Stripe account configuration and your customers' location.
To manage which payment methods are offered at checkout:
- Go to Settings → Payments
- Click Payment Methods to open your Stripe payment method settings
Common payment methods include:
- Credit and debit cards (Visa, Mastercard, Amex)
- Bank redirects (iDEAL, Bancontact, Sofort)
- Buy now, pay later (Klarna, Afterpay)
- Apple Pay and Google Pay
Troubleshooting
Connection status shows "not connected"
If Stripe onboarding didn't complete, click Connect with Stripe again to resume the process. Stripe saves your progress, so you won't need to re-enter information.
Charges or payouts not enabled
This usually means Stripe is still verifying your identity or business information. Check your Stripe Dashboard for any pending verification requirements.
Test mode
During development or testing, you can use Stripe's test mode. Payments made with test card numbers won't process real charges. Contact support if you need help configuring test mode.