Email templates and automation
How to customize email templates, set up automated messages, and configure document generation rules.
Email templates
Email templates define the content and layout of messages sent to customers. Instead of writing every email from scratch, you create templates once and reuse them across bookings.
Default templates
Fjellride provides default templates that work out of the box:
- Booking Confirmation — sent when a booking is confirmed
- Booking Cancelled — cancellation notification with optional refund details
- Booking Status Update — general status change notification
- Payment Link — sends a secure payment link to the customer
- Document Delivery — delivers generated documents (contracts, invoices)
- Welcome Email — greeting for new customers
Creating a custom template
- Go to Settings → Email Templates
- Click Create Template
- Choose the template type (Booking, Confirmation, Reminder, etc.)
- Write your email content
- Add variables for dynamic data
- Save
Template formats
Templates can be authored in three formats:
| Format | Best for |
|---|---|
| Handlebars | Dynamic content with conditionals and loops. Use {{variableName}} syntax. |
| HTML | Full control over layout and styling |
| Structured | Simple text-based templates with predefined sections |
Common template variables
| Variable | Output |
|---|---|
{{customerName}} | Customer's full name |
{{bookingNumber}} | Booking reference number |
{{startDate}} | Rental start date |
{{endDate}} | Rental end date |
{{totalPrice}} | Total booking amount |
{{pickupLocation}} | Pickup location name |
{{returnLocation}} | Return location name |
{{customMessage}} | Operator's custom note |
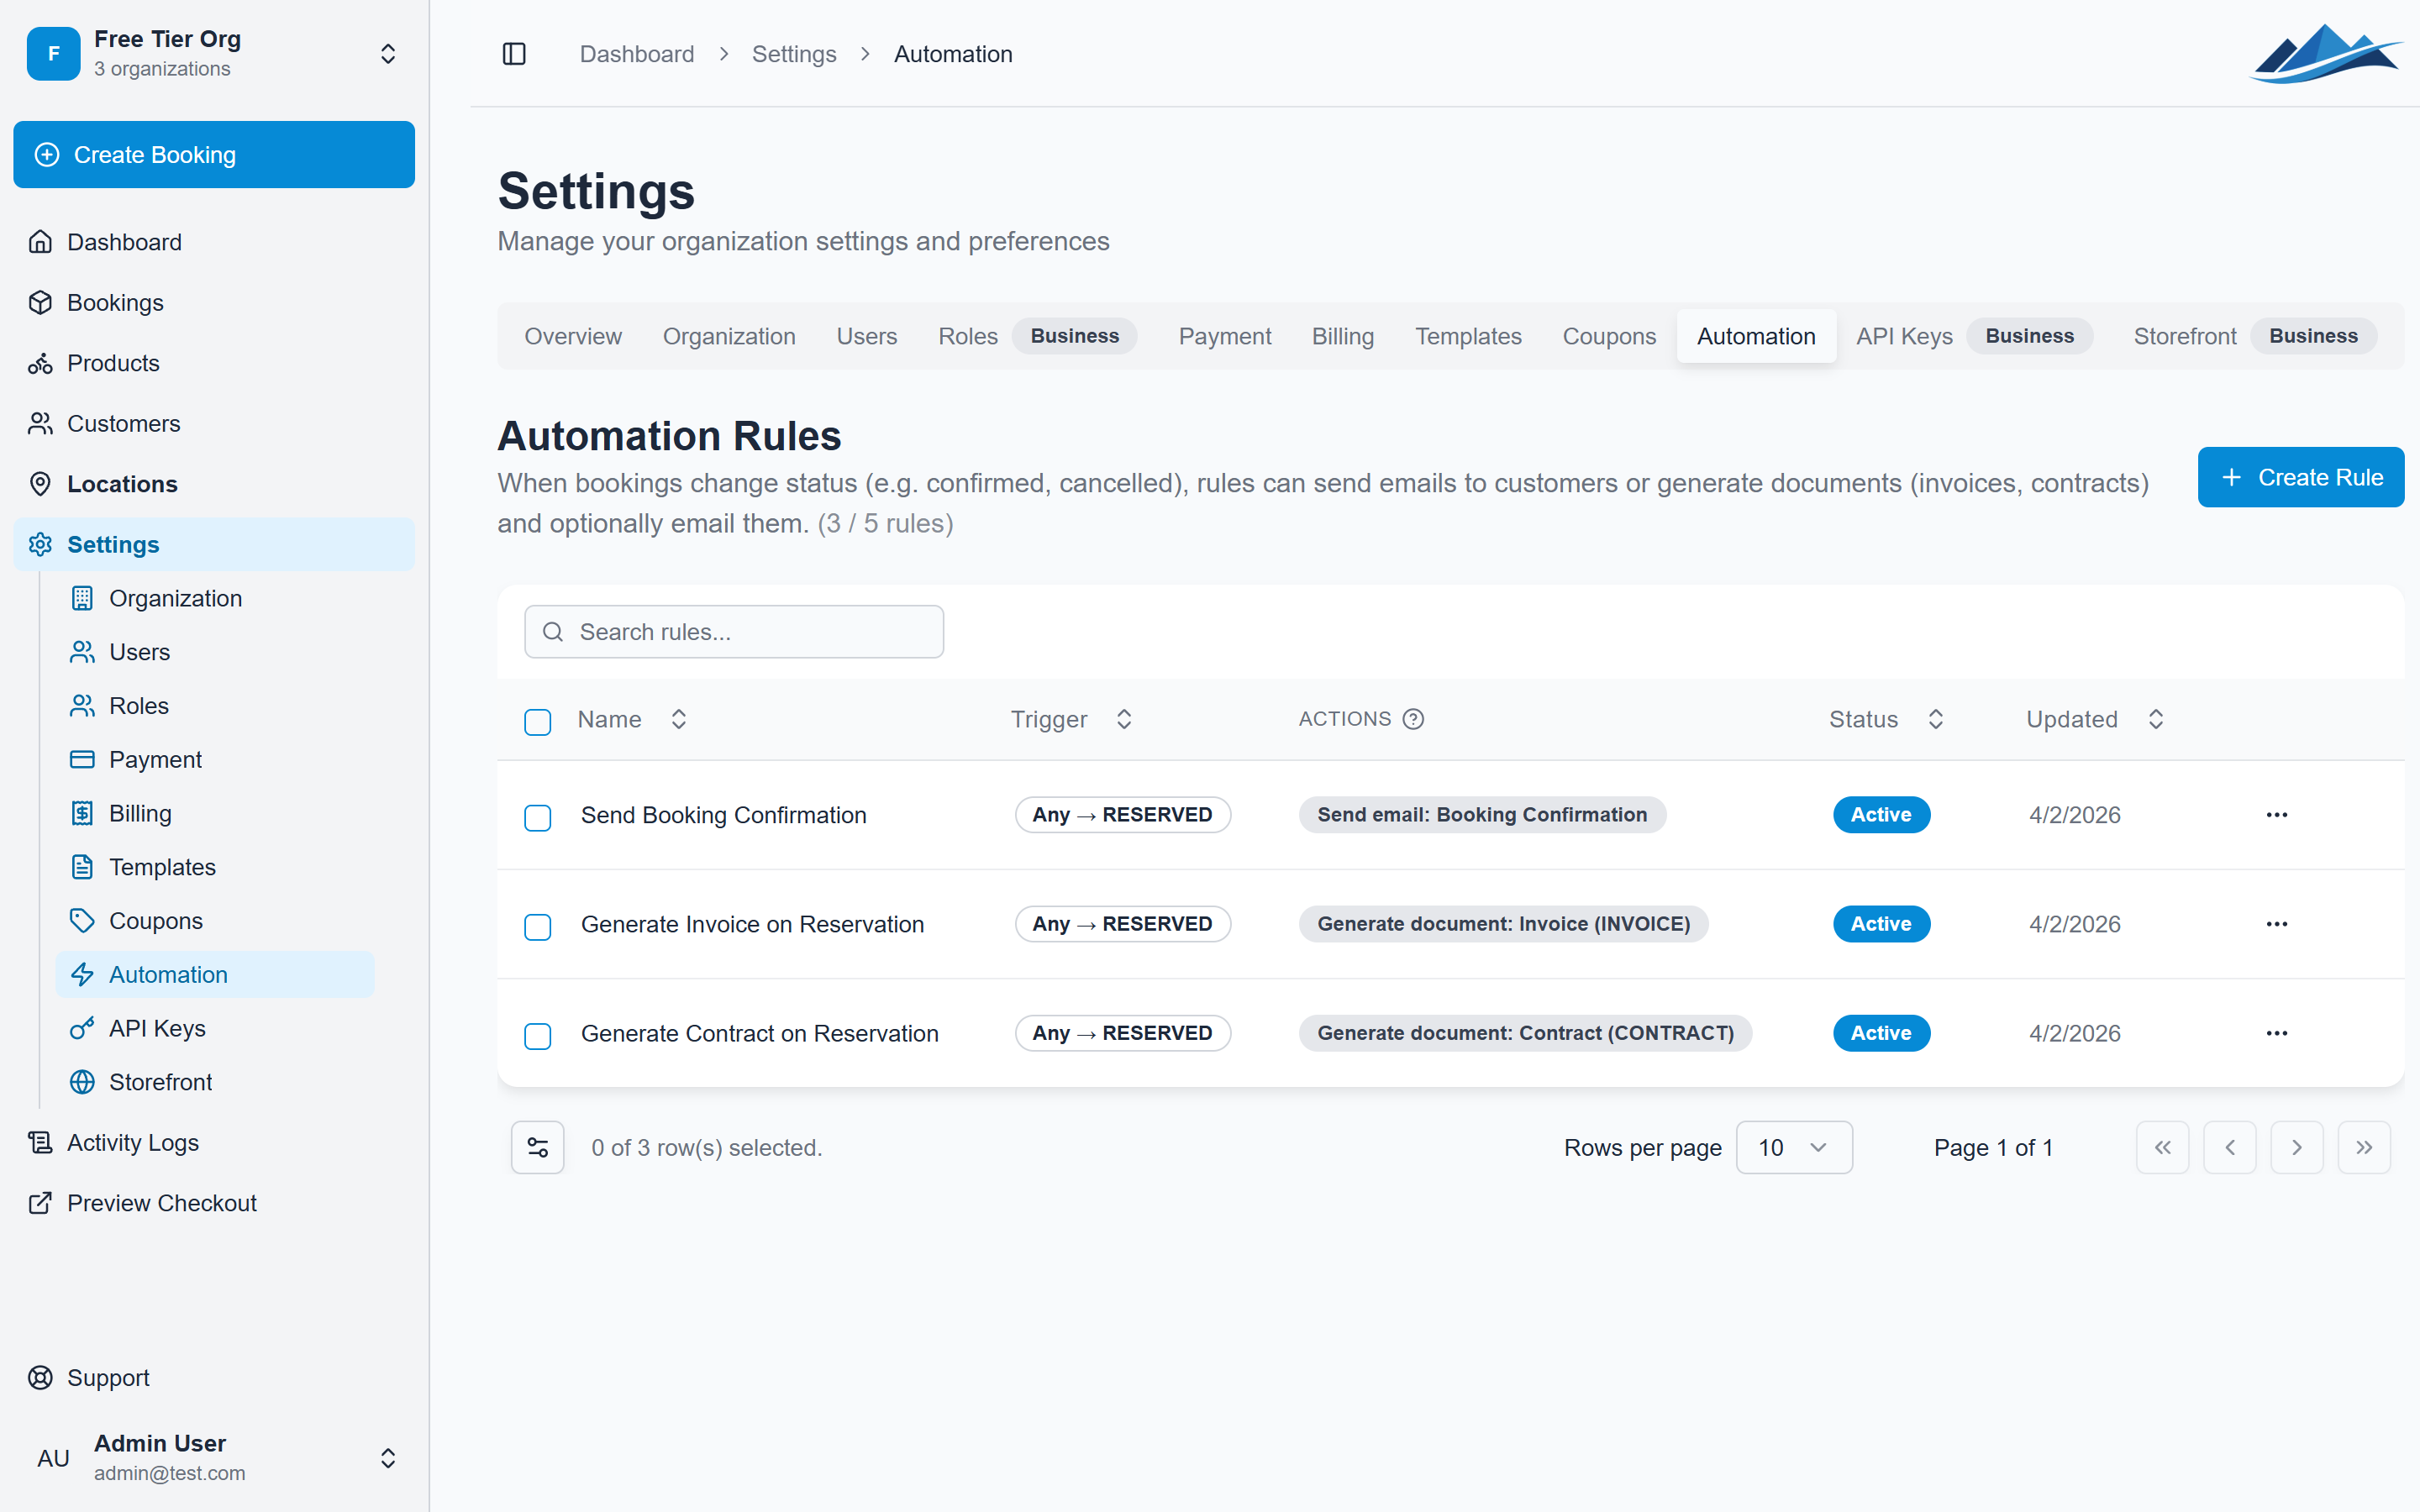
Automation rules
Automation rules trigger actions automatically when events happen in your booking system. No manual intervention needed.
Setting up a rule
- Go to Settings → Automation
- Click Create Rule
- Configure the trigger, conditions, and actions
- Save and enable the rule
Triggers
| Trigger | When it fires |
|---|---|
| Booking status change | A booking moves from one status to another |
| Booking created | A new booking is created (any source) |
| Payment received | Payment is confirmed for a booking |
| Custom | Manual or scheduled trigger |
Conditions
Narrow down when a rule should fire:
- Status change: Specify
fromStatusandtoStatus(e.g. only when moving from Pending Payment to Reserved) - Source filter: Only trigger for specific booking sources (
storefront,api_key, ormanual) — leave empty for all sources
Actions
Each rule can perform one or more actions:
- Send email — select an email template to send to the customer or to your organization's contact email
- Generate document — create a document from a template
- Generate and email document — create the document and send it immediately
Recipient
Choose who receives the automated email:
- Customer — sends to the customer's email on file
- Organization — sends to your organization's contact email (useful for internal notifications)
Example: Complete booking automation
Set up these three rules for a hands-off booking flow:
- Confirmation email — Trigger: status change to
RESERVED. Action: send Booking Confirmation template to customer. - Contract generation — Trigger: status change to
RESERVED. Action: generate and email a Contract document. - Return thank-you — Trigger: status change to
RETURNED. Action: send a custom thank-you email to customer.
Limits
The number of automation rules you can create depends on your subscription plan. Check Settings → Subscription for your current limits.