Your storefront
How your customer-facing storefront works, how to configure it, and how to get it ready for launch.
What is the storefront?
Your storefront is the customer-facing website where people browse your products, choose dates, and complete bookings. It's a separate site from the operator dashboard — customers never see your backend.
Each organization gets its own storefront at a unique URL based on your organization slug:
https://your-org-slug.fjellride.seFor example, if your organization slug is mountain-bikes-are, your storefront lives at https://mountain-bikes-are.fjellride.se.
What customers can do
On the storefront, customers can:
- Browse your visible products with images and descriptions
- Select rental dates and pickup/return locations
- Add products to a cart and complete checkout via Stripe
- View their booking details after payment
- Access the customer portal to see past bookings, documents, and invoices
Setting up your storefront
Navigate to Settings → Storefront to see your storefront status and configuration options.
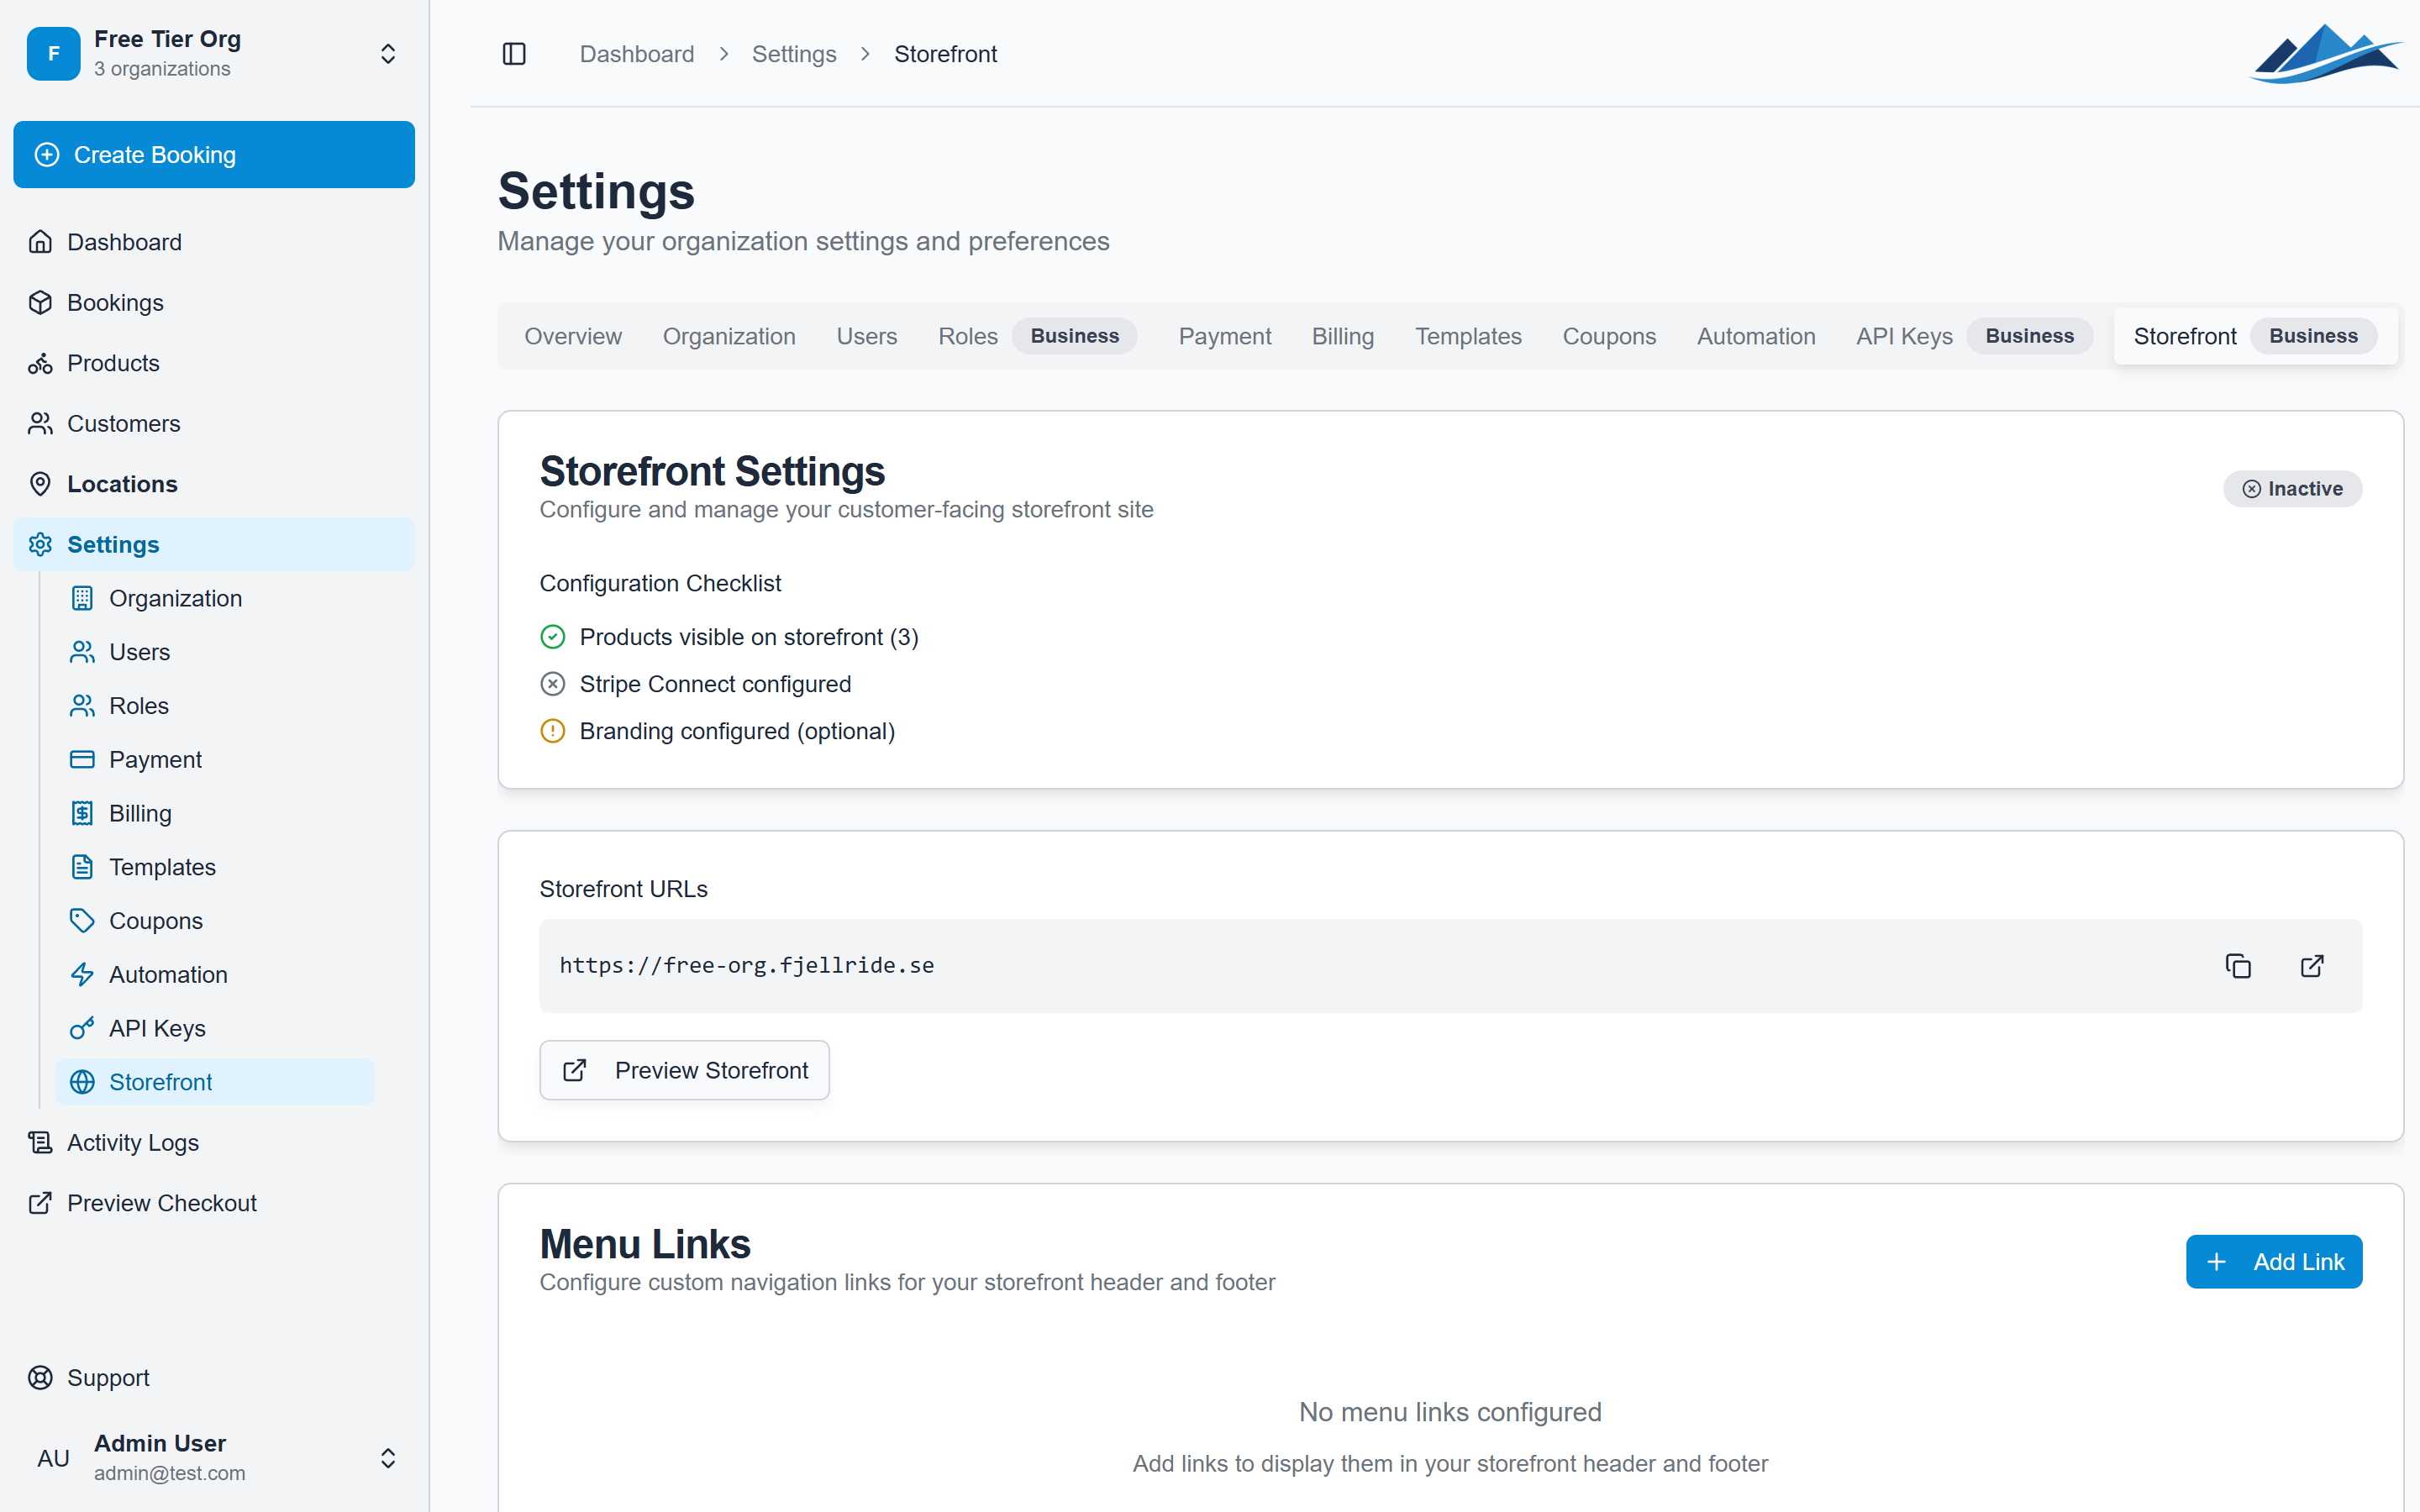
Readiness checklist
The storefront status page shows whether your setup is complete:
- Products visible — you have at least one visible product
- Stripe configured — your Stripe Connect account is set up and charges are enabled
- Branding configured — you've uploaded a logo and set your brand colors (Business/Enterprise plans)
- Ready for launch — all requirements are met
Storefront URL
Your storefront URL is determined by your organization slug, which is set when you create your organization. The slug appears in the URL as a subdomain.
Checkout configuration
Control how the checkout experience works for customers:
Checkout hold time
Set how long a checkout session stays active (1–30 minutes). If a customer starts checkout but doesn't complete payment within this window, the session expires and any temporarily held inventory is released.
Require phone number
When enabled, customers must provide a phone number during checkout. This is useful if you need to contact customers about pickups or delivery.
Require name
When enabled, customers must enter their full name during checkout.
Custom checkout fields
Add custom fields to collect additional information during checkout:
- Go to Settings → Storefront
- Scroll to Custom Fields
- Click Add Field
- Configure:
- Key — internal identifier (lowercase, numbers, underscores only)
- Label — what the customer sees
- Type — Text or Number
- Required — whether the field is mandatory
Custom field data is stored on the booking and visible in the dashboard.
Menu links
Add navigation links to your storefront header. Use these to link to your terms of service, privacy policy, about page, or social media.
- Go to Settings → Storefront
- Scroll to Menu Links
- Add links with a label and URL
Previewing your storefront
Before going live, preview how your storefront looks:
- Go to Settings → Storefront
- Click Preview Storefront
This opens your storefront in a new tab so you can see it as customers would.
Languages
The storefront supports English and Swedish. Customers can switch between languages using the language switcher. Product names and descriptions can have translations configured per product.